
Setting Realistic Expectations
A professionally painted set of kitchen cabinets typically lasts 8 to 15 years before showing meaningful wear. That range rivals many factory-applied finishes and far exceeds the lifespan of a quick DIY repaint.
The difference between the low end and the high end of that window comes down to three things: the coating system used during the project, how the kitchen is treated during the critical first month of curing, and ongoing daily habits. Understanding each factor helps you protect your investment for the full lifespan.
Our durable cabinet refinishing process is designed around maximizing every year in that range.
Cabinet Coatings vs Wall Paint
Standard interior wall paint remains too soft for kitchen woodwork. Cabinets endure greasy fingerprints, daily impact from doors swinging shut, steam from boiling water, and constant friction at drawer slides. A latex wall formula breaks down under that punishment in months, not years.
Professional cabinet systems use a layered approach built specifically for these conditions.
- Degreasing: Heavy-duty TSP removes the invisible film of cooking grease that prevents adhesion.
- Scuff sanding: Creates microscopic grooves that give the primer a physical texture to grip.
- Bonding primer: Shellac-based formulas like B-I-N lock onto slick surfaces that standard primers slide off.
- Enamel topcoat: Hard-curing urethane or waterborne alkyd enamels build a rigid protective shell.
Each layer depends on the one beneath it. Skipping degreasing undermines the primer. Skipping the primer undermines the enamel. The full system is what produces painted cabinet durability measured in decades rather than months.
What Determines Actual Lifespan
Several controllable and environmental factors interact to set the real-world duration of your finish.
| Factor | Extends lifespan | Shortens lifespan |
|---|---|---|
| Prep | Full TSP degrease and shellac primer | Painting over existing grease or gloss |
| Product | 2K polyurethane or urethane enamel | Standard latex wall paint |
| Application | Thin, uniform spray coats | Thick brush coats with visible texture |
| First month | Gentle handling during cure period | Heavy use immediately after installation |
| Cleaning | Soft damp microfiber cloth | Abrasive magic erasers or scouring pads |
| Environment | Range hood ventilation during cooking | Heavy daily cooking without exhaust |
A busy Georgetown household with young children and frequent cooking will naturally see wear faster than a quiet home. Proper product selection and ongoing care narrow that gap significantly.
The 30-Day Cure Window
Cabinet enamel feels dry to the touch in hours, but the chemical cross-linking process that gives it true hardness continues for up to 30 days. Products like Benjamin Moore Advance require a full 16 hours between recoat applications alone.
Limestone & Lacquer rehangs doors within days of the final coat, but the finish remains vulnerable throughout the curing period. Treat the kitchen gently during this window.
- Operate doors and drawers using the hardware, not the painted surfaces
- Keep damp towels and sponges away from freshly coated drawer fronts
- Clean any spills gently with a damp cloth rather than scrubbing
- Install soft rubber bumper pads to prevent doors from slamming shut
- Avoid applying any adhesive tape to the new finish
Zones That Take the Hardest Beating
Even industrial-grade coatings wear unevenly across a kitchen. Certain locations absorb disproportionate abuse.
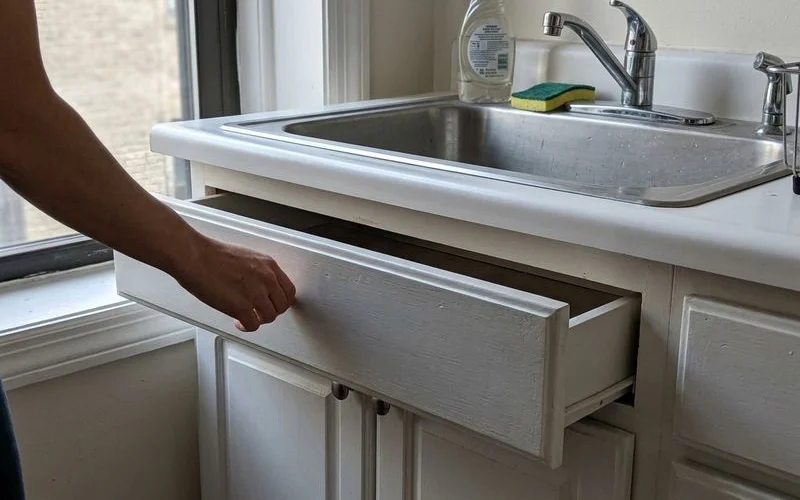
- Under the sink: Dripping water and dishwasher steam attack the lower cabinet faces constantly.
- Trash pull-out: The most frequently grabbed drawer in most kitchens, subject to food residue and heavy yanking.
- Handle edges: Wedding rings and fingernails scratch the painted edge next to the hardware.
- Lower toe kicks: Vacuum bumps, pet bowls, and shoe scuffs concentrate damage at floor level.
We target these areas with extra preparation and recommend oversized bar-style pulls that keep hands away from the painted edge entirely.
How Application Method Affects Longevity
Spray application produces a thinner, more uniform film than brush application. Thin coats allow the chemical binders to cure completely through to the substrate. Brush strokes leave thicker deposits at edges and corners that stay softer longer and trap moisture beneath the surface.
A textured brush mark also creates a raised ridge that catches on pot handles and pan edges, accelerating chipping at those contact points. Our guide on sprayed vs brushed finishes details the performance differences.
Maintaining and Touching Up
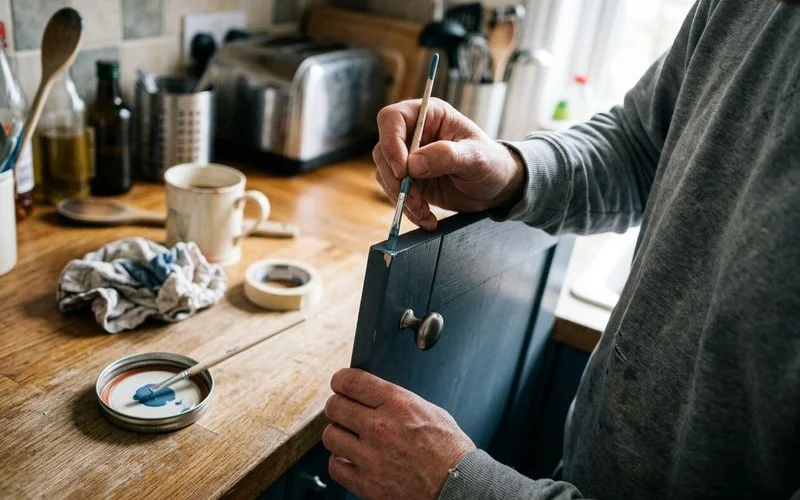
Limestone & Lacquer leaves a labeled jar of the exact enamel used on your project for future spot repairs. Small nicks are normal in a working kitchen, and addressing them promptly prevents moisture from reaching the bare wood underneath.
The repair process is straightforward.
- Wash the chipped area with mild soap and warm water
- Lightly sand any rough edges with 320-grit paper
- Dab a small drop of the original enamel into the chip using a fine artist brush
- Let the spot cure completely before touching the surface
Avoid aggressive cleaning products on painted cabinetry. Bleach, ammonia-based sprays, and abrasive pads strip the sheen and break down the topcoat prematurely. A soft microfiber cloth with warm water handles virtually every daily cleaning need.
Hardware Upgrades That Add Years
Physical modifications reduce daily contact between skin oils and painted surfaces.
- Oversized bar pulls keep fingers on metal instead of enamel edges.
- Soft-close hinges (Blum or equivalent) eliminate the repeated impact stress of slamming doors.
- Instant spill response at the sink prevents water from sitting in cabinet joints.
- Range hood use during cooking pulls airborne grease outside before it settles on doors.
These small upgrades compound over time. Homes that install soft-close hardware and use range hoods consistently see dramatically less wear after five years than homes without them.
When to Schedule a Refresh
A color refresh makes sense once the original finish shows consistent edge wear and the overall sheen has dulled from years of cleaning. At that stage, the foundation work already in place makes a recoat much faster and less expensive than the initial project. The bonding primer is already locked into the wood grain, so a quick scuff sand and a fresh enamel topcoat bring the kitchen back to new condition.
Refreshing is also an opportunity to update the color entirely. Painting over an existing professional finish requires far less prep than starting from bare or poorly coated wood.
Professional Finish vs Cabinet Replacement
Full kitchen cabinet replacement averages over $20,000 in 2026 for a standard layout. Professional painting runs $2,000 to $6,500. The existing wooden boxes in most Georgetown homes have decades of structural life remaining. Painting them delivers a dramatic visual transformation at a fraction of the replacement cost, without the multi-week disruption of a full tear-out and installation.