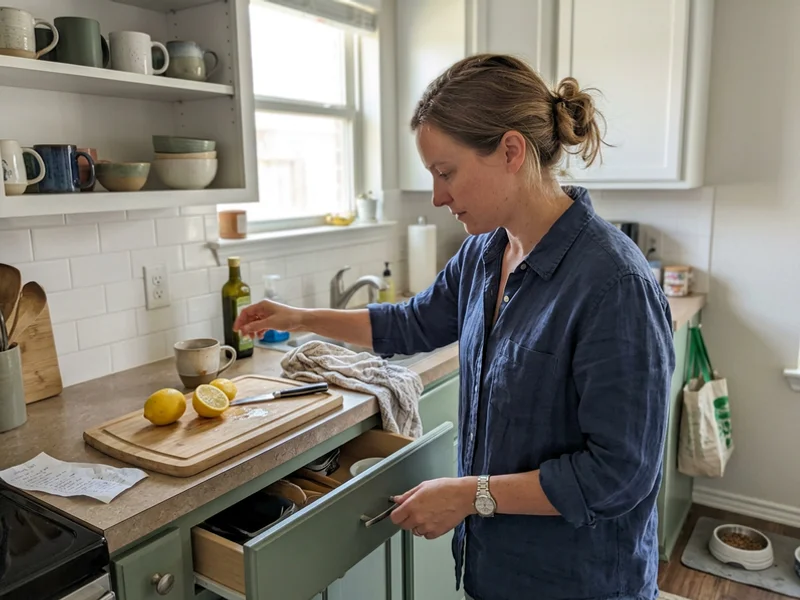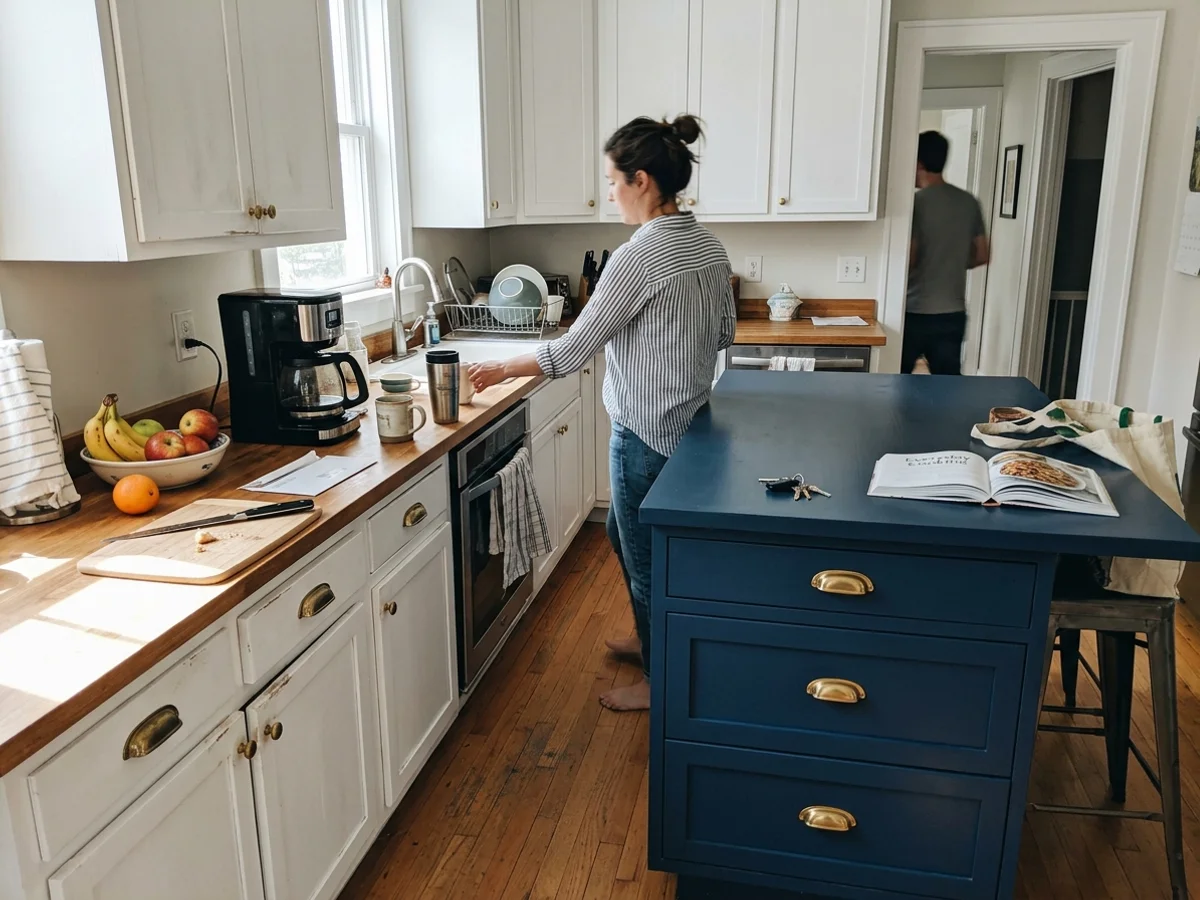
Your kitchen cabinets take more daily wear than almost any other surface in your home. After years of use, those once-beautiful doors can show every scratch, grease stain, and outdated color choice. Professional cabinet refinishing transforms the look of an entire kitchen for a fraction of what new cabinetry costs, with far less disruption to your daily routine. Thousands of Georgetown homeowners have discovered that refinishing delivers the dramatic upgrade they want without living through weeks of construction.
Which Cabinets Are Good Candidates for Painting?
Not every cabinet material holds a painted finish equally well, and we believe in giving you that honest assessment upfront. Our team evaluates kitchens and bathrooms to determine whether refinishing is the right investment for your specific cabinets.
- Solid wood (oak, maple, cherry): Excellent candidates. Oak has open grain that shows through paint unless a grain filler is applied first. Maple and cherry take paint smoothly without filling.
- MDF: Paints beautifully and provides a smooth, sleek surface with no visible grain.
- Laminate: Works well when intact and prepped with a dedicated bonding primer like Stix.
- Thermofoil: Usually a replacement candidate. Paint cannot fix delaminating vinyl wrap, and adhesion is poor.
Homes in Sun City and Berry Creek built in the 1990s frequently have solid oak cabinets with sturdy boxes and a layout that still works perfectly. These are ideal refinishing candidates. If your cabinets are structurally sound but just look tired, painting is almost always the smarter move. Our guide on whether kitchen cabinets can be painted covers each material in detail.
Our Step-by-Step Refinishing Process
Each door and drawer front is numbered with painter’s tape, removed, and transported to our dedicated spray area. Labeling guarantees every piece returns to its original position after finishing. Inside the kitchen, masking paper and plastic sheeting protect counters, appliances, and floors while the cabinet boxes are prepped in place.
Years of cooking leave a grease film that will destroy paint adhesion if ignored. Our crew cuts through this buildup using a heavy-duty TSP substitute like Krud Kutter, then scuff-sands every surface with 220-grit pads and wipes everything down with a tack cloth to remove fine dust.
Primer selection is where most cabinet refinishing jobs succeed or fail. We apply Stix bonding primer on standard wood and MDF surfaces. Oak and previously stained surfaces get a shellac-based primer like Zinsser BIN to block tannin bleed. Tannin bleed is the hidden culprit behind those yellow spots that ruin a fresh white or light-colored finish.
The final color goes on with an HVLP spray gun, producing the smooth, factory-like texture that separates professional work from a DIY brush job. Our preferred enamels include Sherwin-Williams Emerald Urethane and Benjamin Moore Advance. Both products cure rock-hard, level out beautifully, and stand up to daily kitchen use for years. The finish feels dry within hours but continues hardening over two to four weeks. We always advise treating doors gently during that initial cure period to prevent surface marks.
Common Mistakes That Ruin a Cabinet Paint Job
We have fixed enough failed cabinet projects in Georgetown to recognize the patterns immediately. These are the errors that come up most often.
Skipping degreasing is the number one cause of failure. Kitchen grease is invisible to the eye but prevents primer and paint from bonding properly. The result is peeling enamel within just a few months of daily use.
Using the wrong primer ranks a close second. Standard latex primer does not grip slick factory finishes or block wood tannins. A dedicated bonding primer is non-negotiable for every cabinet project.
Brushing instead of spraying produces visible stroke marks that feel rough and look unprofessional. Brushed cabinets stand out immediately next to sprayed ones. This is why our crew sprays every door and drawer front for a consistent, smooth finish.
Rushing cure time causes chipping and sticking. Stacking freshly painted doors, closing them tightly, or hanging damp towels on new surfaces can damage the enamel before it reaches full hardness. Patience during the first few weeks protects a finish that will last for years.
Paint, Reface, or Replace: Comparing Your Options
The right choice depends on the condition of your existing boxes and your budget. When boxes are structurally sound and the layout works for your household, painting delivers the biggest visual change per dollar. A 2025 Cost vs. Value report from Zonda shows minor kitchen remodels returning 113% nationally, while full upscale replacements return just 36%.
| Option | Average Cost | Kitchen Downtime | Best When |
|---|---|---|---|
| Painting | $619 - $3,116 | Days | Boxes are solid, layout works |
| Refacing | $8,000 - $12,000 | About a week | You want new door styles |
| Replacement | $20,000+ | Weeks | Boxes are damaged or layout changes |
For a deeper comparison of all three approaches, read our guide on cabinet painting vs refacing vs replacement.
Getting Started with Your Project
Every cabinet refinishing project begins with an on-site visit. We count doors and drawer fronts, check the material and condition, and provide a fixed written quote with no hidden fees. Pricing is driven by the number of fronts, whether grain filling is needed, and the scope of any additional boxes like islands or built-ins.
Our cabinet painting cost guide breaks down exactly how the numbers work. For a look at how the work unfolds and tips on keeping your kitchen functional during the project, read what to expect when your cabinets are painted.
Limestone & Lacquer serves homeowners throughout Georgetown and nearby communities including Round Rock and Cedar Park. Call (512) 555-0182 to schedule your free cabinet refinishing estimate.