
A Clear Roadmap Eliminates Surprises
Knowing what to expect, cabinet painting projects change how your kitchen functions for three to five working days. Understanding each phase helps you plan meals, manage pets, and coordinate your household schedule around the work. This day-by-day timeline covers the full process from the moment you clear your counters to the final walkthrough.
The national average cost to paint kitchen cabinets in 2026 is approximately $4,500. Our cabinet painting in Georgetown service includes every step outlined below.
Before the Crew Arrives
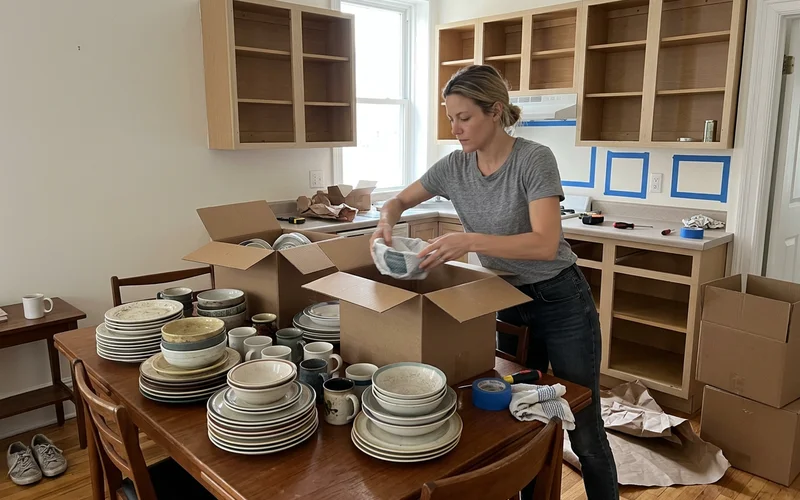
Your preparation starts a few days before the scheduled start date. Clearing the workspace thoroughly prevents delays and protects your belongings from dust and overspray.
- Empty every cabinet and drawer being painted. Sturdy moving boxes and laundry baskets work well for temporary storage.
- Clear countertops completely. Small appliances, knife blocks, and decorative items need a temporary home.
- Set up a temporary kitchen. Move a coffee maker and microwave to another room.
- Confirm hardware decisions. If new pulls require different hole spacing, tell the crew so they can fill and redrill during prep.
- Plan for pets. Curious animals will investigate masking tape and plastic sheeting.
Day 1: Removal, Labeling, and Protection
The first step is carefully removing all doors and drawer fronts. Hinges and screws go into labeled bags. A strict numbering system ensures every piece returns to its exact original position.
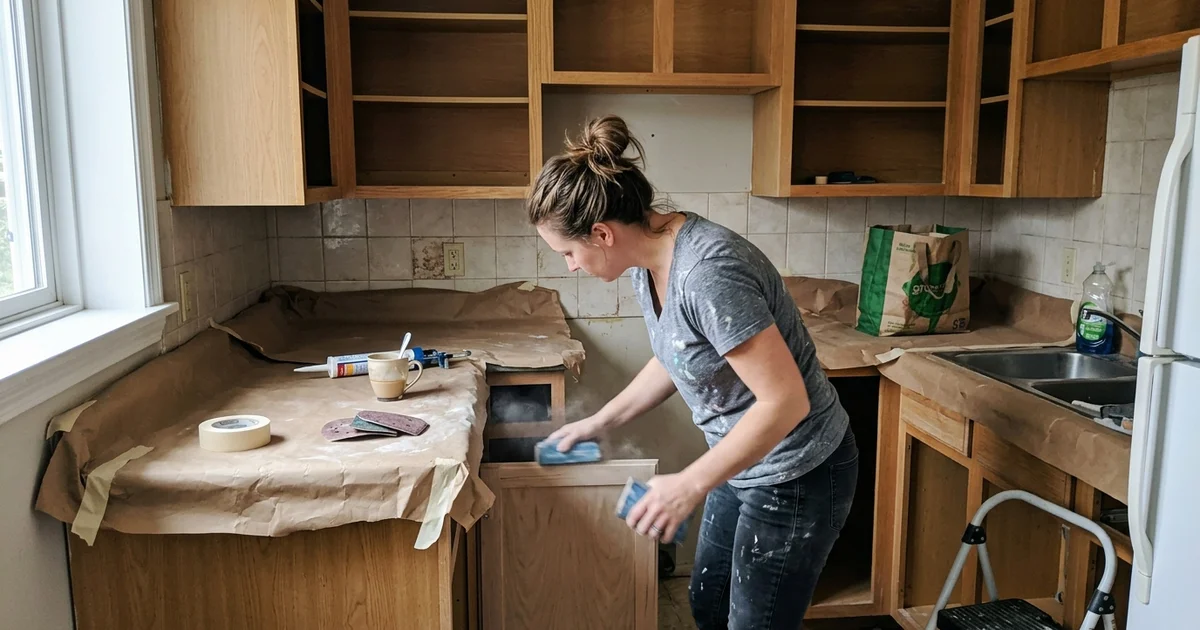
Masking the kitchen takes several focused hours. Doorways receive heavy-duty plastic sheeting. Counters, backsplashes, and floors are covered with rosin paper and tape using professional tools like the 3M Hand-Masker. Containing dust and overspray to the kitchen work area is the top priority for a clean result.
Days 1-2: Cleaning and Sanding
Degreasing is the most critical preparation step. Kitchen cabinets accumulate an invisible film of cooking oils over years of use. Paint will not bond to greasy surfaces. Professional-grade degreasers like Krud Kutter Original strip this buildup safely.
Once surfaces are clean and dry, the crew scuff-sands everything with 220-grit paper to create the mechanical tooth that primer needs to grip properly. A tack cloth removes the remaining fine dust.
Hardware Changes
Switching from a single knob to a wider handle requires filling the old holes and drilling new ones. Handling this during the sanding phase ensures the patches blend invisibly under the fresh finish. Open oak grain and visible gouges are also filled and sanded smooth at this stage.
Days 2-3: Primer Application
A high-quality bonding primer serves as the foundation for a durable cabinet finish. The specific primer formula is matched to your cabinet material.
- Bonding primers like INSL-X Stix for previously finished or laminated surfaces
- Shellac-based primers like Zinsser B-I-N for blocking stubborn tannin bleed and grease stains
- Water-based primers for lighter color changes on clean, raw wood
Boxes and face frames are primed in the kitchen. Doors are primed in a controlled spray area. After the primer fully dries, a light sanding pass ensures maximum smoothness before the color coats go on. This step is the difference between an acceptable finish and a glass-smooth result.
Days 3-5: Topcoat Application
Two full coats of premium enamel transform the cabinets. Stationary boxes in the kitchen are typically finished in place. Doors and drawer fronts are sprayed in a controlled environment for a flawless, factory-like surface.
Modern waterborne alkyd enamels like Benjamin Moore Advance and Sherwin-Williams Emerald Urethane deliver the hard, self-leveling finish of traditional oil-based products without the harsh odor. These formulas are ideal for kitchen environments where daily wear demands a durable shell.
Dry Time Between Coats
Different products require different waiting periods. Benjamin Moore Advance needs a full sixteen hours between coats. Rushing this interval causes poor adhesion and premature peeling. Georgetown’s humidity levels can extend drying time by an additional day during the warmer months.
Reinstallation Day
Reinstallation begins only after painted doors are fully dry to the touch. Each piece is carefully transported back and matched to its designated label. Hinges are adjusted so every door hangs straight and closes without rubbing.
The masking plastic and floor protection come down. New hardware is installed once doors are perfectly aligned. The kitchen receives a thorough final cleaning.
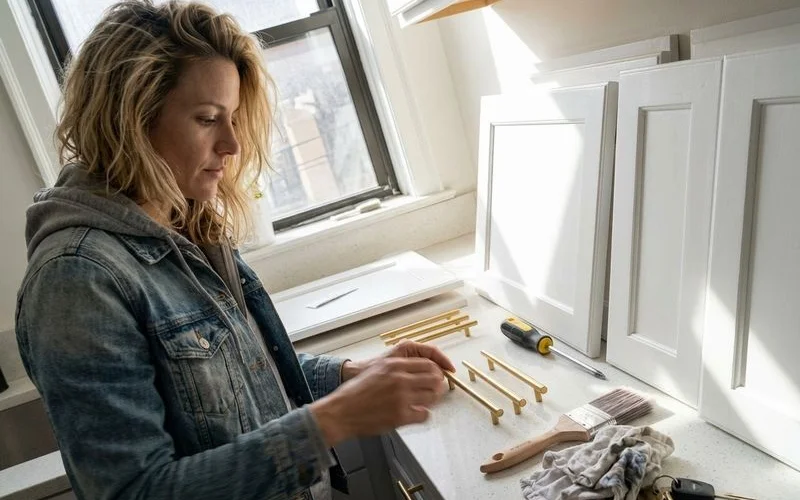
The project concludes with a comprehensive walkthrough where you inspect every surface, open every door, and pull out every drawer. Any minor touch-ups identified during the walkthrough are addressed before the crew packs up.
Typical Project Timeline
| Stage | What happens |
|---|---|
| Before start | You empty cabinets and clear counters |
| Day 1 | Remove doors, label parts, mask the room |
| Days 1-2 | Degrease, sand, fill grain, prep hardware holes |
| Days 2-3 | Apply primer and sand for smoothness |
| Days 3-5 | Apply two enamel topcoats with proper dry times |
| Final day | Reinstall doors, adjust hinges, clean, walkthrough |
| Following weeks | Observe the cure period with gentle use |
Larger kitchens, heavy grain filling, or two-tone designs can add one to two extra days. Your estimator provides an exact timeline based on your specific layout.
Living With the Project
Staying home during a cabinet project is common and entirely manageable. Countertops remain covered in plastic for the duration. The sink and refrigerator usually stay accessible in the evenings.
Practical strategies for the week:
- Stock disposable plates and utensils
- Move pet bowls to a bathroom or laundry room
- Set up a coffee station in the dining room
- Plan simple meals or budget for a few nights of takeout
- Use the outdoor grill if weather permits
The crew cleans up the primary work area at the end of each day.
The Cure Period
A door that feels dry to the touch is not fully cured. Modern waterborne alkyds need time to reach maximum hardness. Benjamin Moore publishes a cure time of up to 30 days for Advance enamel.
During this first month, treat the kitchen gently:
- Open and close doors by the handles only
- Wipe spills immediately with a soft, damp microfiber cloth
- Avoid hanging wet towels over cabinet doors
- Keep sticky adhesives and harsh chemical cleaners away from painted surfaces
Our guide on how long painted cabinets last covers detailed long-term care instructions.
Two-Tone Kitchens
Two-tone cabinetry is a dominant 2026 trend. Popular combinations include a deep charcoal island paired with warm white perimeter cabinets, or natural stained white oak uppers with a painted accent color below.
Each distinct color requires its own masking and spray setup. Two-tone projects add precision time to the schedule but deliver a highly customized result. Finalize both color choices simultaneously to ensure a cohesive design.
Common Mid-Project Questions
Can I see the color before it goes on everything? Yes. A sample door sprayed in the actual enamel lets you evaluate the finish under your specific kitchen lighting.
What about the smell? Modern waterborne enamels produce significantly less odor than traditional oil-based formulas. Fans and active ventilation keep the air fresh during spraying.
Will dust get everywhere? Sanding generates fine particulate, but thorough masking at every doorway contains it within the kitchen. Daily shop vacuuming captures the rest.
What if a door does not close right? Hinge tension is adjusted during reinstallation and verified again at the final walkthrough.
Your Walkthrough Handoffs
The project concludes with three deliverables:
- A detailed inspection of every painted surface
- A labeled container of leftover enamel for future touch-up repairs
- Printed care instructions for maintaining the finish
Start Planning
A quick consultation answers all remaining questions about timeline and cost. Limestone & Lacquer Painting Co. counts your doors and drawers, evaluates the wood material, and delivers a fixed written quote with a clear schedule. Schedule a cabinet estimate and our Georgetown team will visit your property within 48 hours.