
An Organized Process, Not a Disruption
A 2026 Houzz report found that 54 percent of US homeowners tackled projects last year, and many found the disruption challenging. The house painting process should feel structured and predictable rather than chaotic. Knowing what happens at each stage, who is at your property, and what it costs eliminates the uncertainty.
This roadmap covers every phase of our painting process from the first phone call to the final walkthrough. Use it whether you hire Limestone & Lacquer or another contractor.
Stage 1: The On-Site Estimate
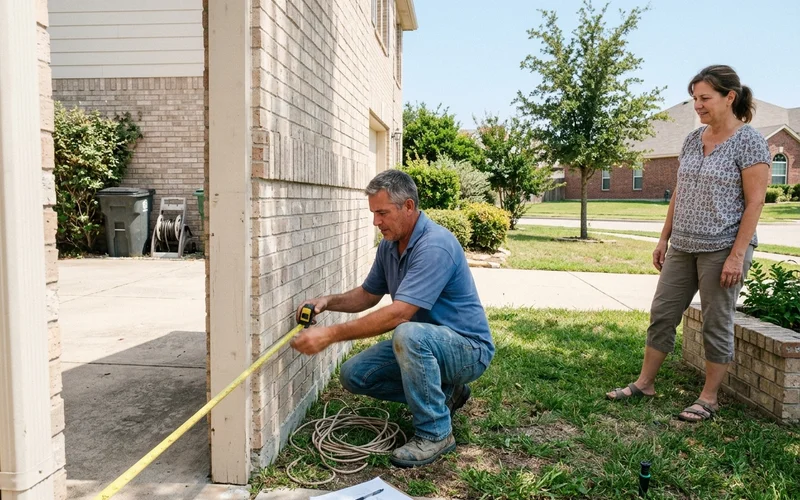
The process starts with a comprehensive site visit to evaluate your space. We schedule free on-site estimates within 48 hours anywhere in our Georgetown service area. Plan for 30 to 60 minutes depending on project scope.
During the visit, the estimator will:
- Walk the rooms or exterior perimeter with you
- Measure surfaces with laser tools like the Bosch GLM 50
- Note repairs such as peeling trim, cracked stucco, or drywall damage
- Ask about your timeline, color preferences, and any HOA requirements
- Answer questions about products and technique
Stage 2: The Written Quote
You receive a fixed written quote shortly after the site visit. This document outlines every cost and step so nothing catches you off guard.
Following Painting Contractors Association (PCA) guidelines, a thorough quote includes:
- Every surface covered by the project
- Each preparation step by name
- Primer and paint products with number of coats
- Start date and expected duration
- Price and payment terms
- Warranty terms
Read the document carefully and ask questions. Once approved, that is the final price. Any later additions are priced in writing before work proceeds.
Stage 3: Color Consultation
All colors are finalized in writing before the crew arrives. This eliminates the risk of application surprises.
The process may involve testing sample patches directly on the wall, pulling HOA-approved palettes for local neighborhoods, or exploring 2026 color trends. Sheen selection for each room is confirmed at this stage as well.
Our guide to choosing paint colors in Central Texas covers how Georgetown’s intense sunlight shifts how colors appear on the wall.
Stage 4: Preparing Your Home
Clear the work areas a few days before the crew arrives. We handle moving and covering larger furniture, pulling pieces at least three feet from walls to provide clearance for equipment.
For interior projects:
- Take down art, mirrors, and curtains
- Put away valuables and fragile items
- Clear small objects from shelves and counters near walls
- Plan where pets will stay during work hours
For exterior projects:
- Move vehicles out of the driveway if the crew needs space
- Turn off sprinklers the day before and during painting
- Move patio furniture and grills away from walls
- Unlock gates for property access
Stage 5: Protection and Preparation
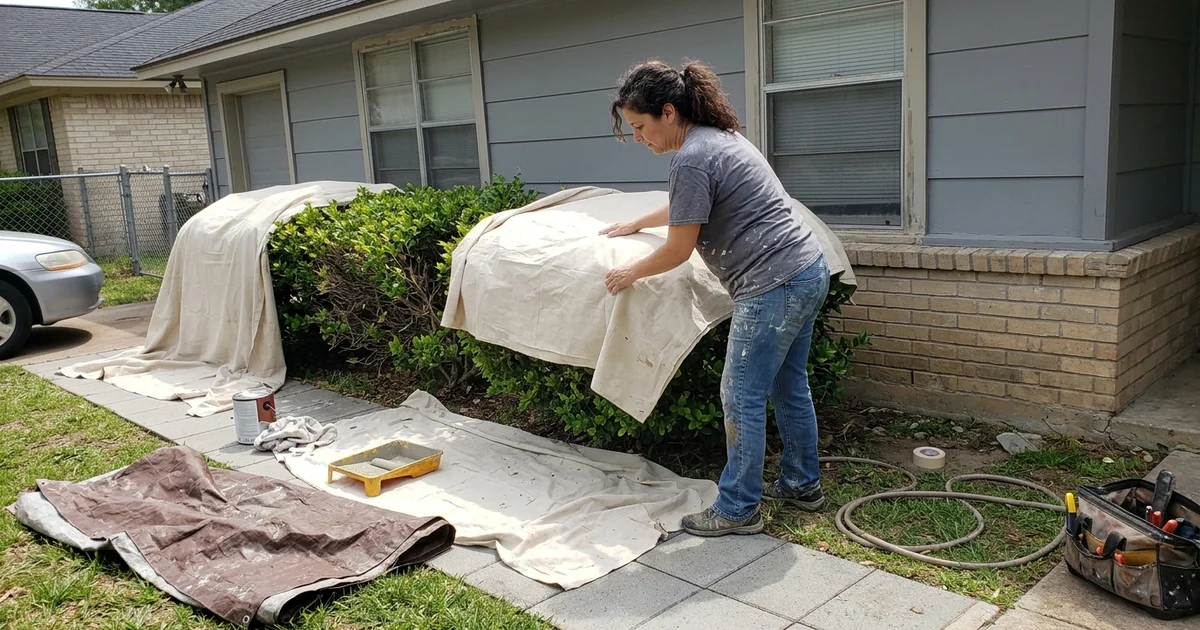
The crew protects everything that is not being painted on day one. Inside, that means covering floors, wrapping furniture, and removing outlet covers and switch plates. Exterior protection involves canvas drop cloths over plants and walkways, and 3M ScotchBlue plastic over windows and fixtures.
Then critical surface preparation begins:
- Washing siding or walls to remove dirt and chalking
- Scraping away loose or peeling paint
- Sanding rough edges smooth
- Patching holes and caulking gaps at trim joints
- Priming bare or repaired surfaces
Industry data shows prep frequently consumes 20 to 40 percent of total labor hours. This foundational work is exactly what makes the new finish last. Read more about why prep matters.
Stage 6: Painting
Finish coats are applied systematically once preparation is complete. Interior sequence follows the standard top-down order: ceilings first, then walls, then trim and doors.
Exterior application requires strategic scheduling around the weather. The crew follows the shade around the house to avoid painting surfaces in direct afternoon sun. Acrylic latex paint applied to cool siding levels properly and cures to a smooth, durable finish without flash-drying.
The crew lead is on site every day. If you have a question or want to discuss a change, they are your direct point of contact.
Stage 7: Daily Cleanup
The entire site is cleaned at the end of each working day. Tools are put away, walkways are cleared, and the rooms you need are made usable again. You should never have to navigate around paint cans or ladders after hours.
The crew follows EPA guidelines for proper waste disposal, ensuring no wash water or paint residue enters local storm drains.
Stage 8: Final Walkthrough
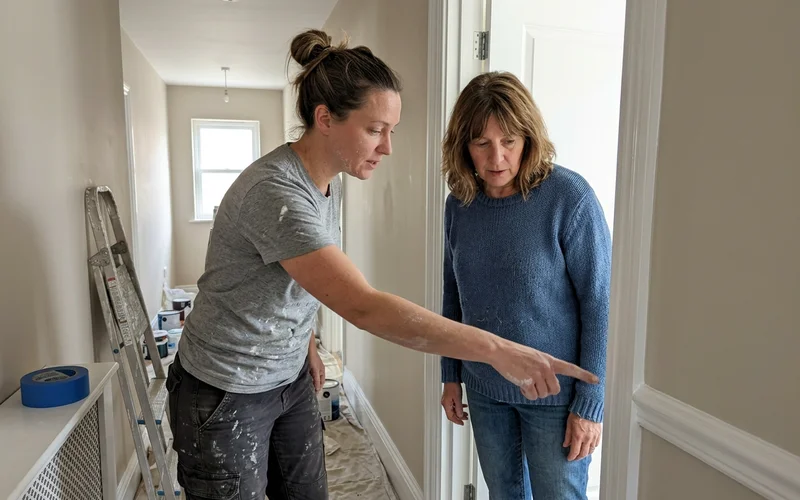
When the painting is complete, the crew lead walks the job with you. The inspection covers clean lines along ceilings and trim, smooth and even coverage on all surfaces, and proper cleanup of every work area.
We follow the PCA P1 standard for evaluating a properly painted surface: inspecting from a normal viewing distance of 39 inches under finished lighting, not pressing a flashlight against the wall at an angle.
Point out anything you want touched up, and the crew addresses it before leaving. Furniture returns to its original positions, protective coverings come down, and the site receives a final cleaning.
Typical Project Timelines
| Project | Typical duration |
|---|---|
| One or two interior rooms | 1 to 2 days |
| Whole-house interior | Several days to two weeks |
| Single-story exterior | 3 to 5 days |
| Two-story exterior | 1 to 2 weeks |
| Kitchen cabinets | Several days plus cure time |
These estimates shift if the project involves extensive repairs, major color changes, or weather delays. Cabinet projects require additional patience since water-based alkyd enamels may take 14 to 30 days to reach full hardness.
What We Need From You Along the Way
A successful project is a collaborative effort. We may ask for:
- Color sign-off in writing before painting begins
- Access to water and power outside, and keys or codes if you are away
- A quick check-in after prep, especially if hidden damage is discovered
- Pets and children kept clear of work zones during the day
- Your input during the final walkthrough
A smart lock app or lockbox keeps the crew on schedule if you are at work.
Discovering Hidden Damage
If preparation uncovers problems that were not visible before, we pause work immediately. Older homes frequently hide wood rot around window sills or water damage behind baseboards. Stucco cracks sometimes extend deeper than they appeared.
When that happens, the team stops and shows you the discovery. We explain your options and price any additional scope in writing before proceeding. Nothing is added to your bill without written approval.
After the Project
Standard acrylic latex paint reaches full cure in approximately 30 days. During that first month, avoid aggressive scrubbing to protect the fresh surface.
A few simple habits protect your investment:
- Keep leftover paint labeled by room for future touch-ups
- Clean gently for the first two weeks while the film cures
- File your warranty dates alongside your quote and invoice
Commercial Projects
Offices, retail spaces, and restaurants follow the same stages but with shifted timing. Work happens at night or on weekends to prevent operational disruption. Fast-drying, low-VOC commercial products like Benjamin Moore Scuff-X ensure the space is safe and ready for morning customers. Our guide on after-hours commercial painting covers that process in detail.
Start Your Project
Book your free estimate and our Georgetown team will walk the property with you, explain each step clearly, and deliver a fixed written quote. Limestone & Lacquer Painting Co. handles the rest.